
How to Reverse Sear the Perfect Steak on a Charcoal Grill
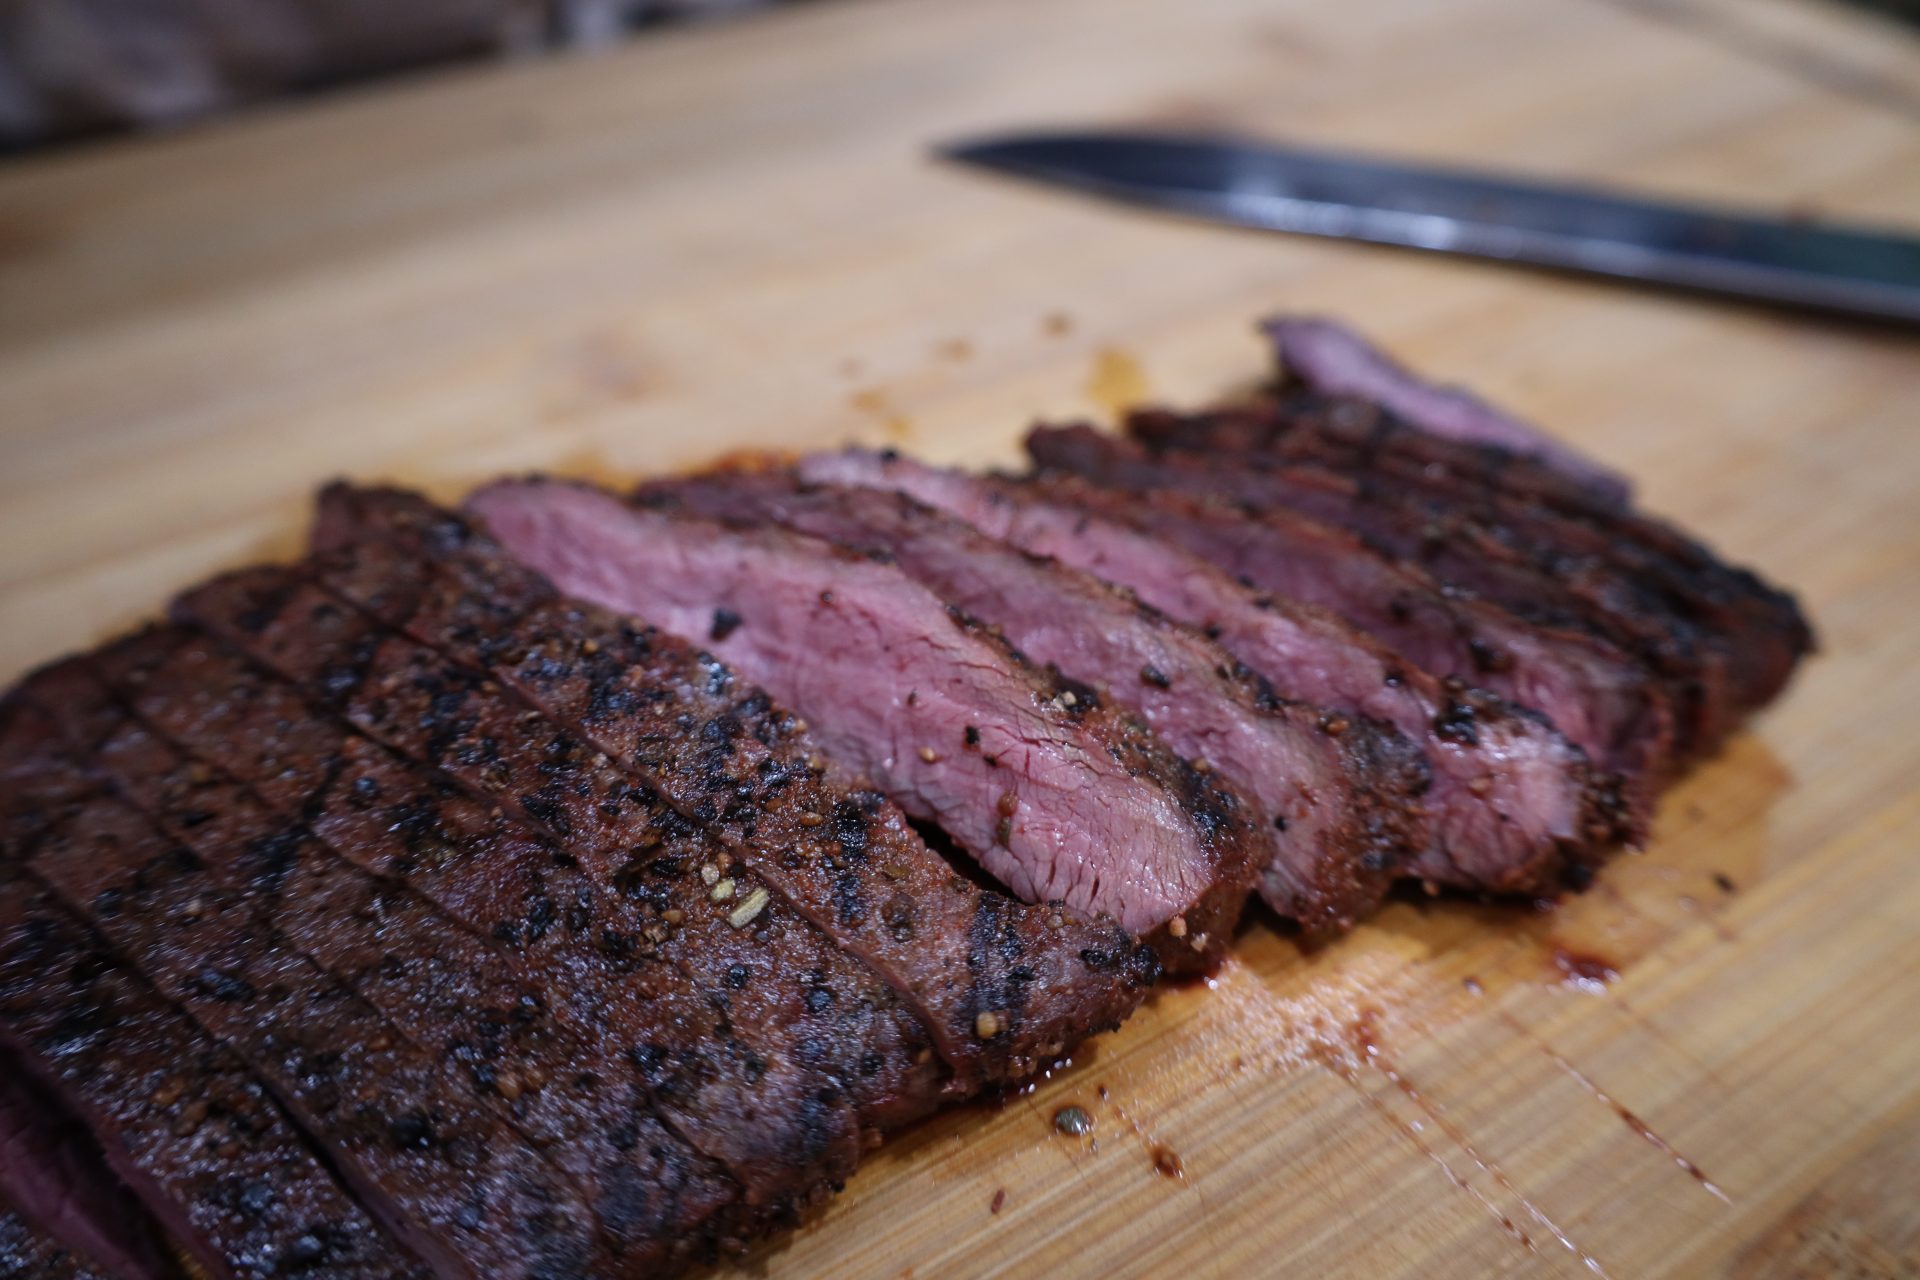
If you have ever cooked a thick ribeye or New York strip using the traditional hot-and-fast method, you have likely run into the classic steak maker’s dilemma: a beautiful crust on the outside, but a thick, overcooked gray ring wrapped around a cold, rare center.
When you are working with premium cuts that are 1.5 to 2 inches thick, traditional high-heat sear methods fall short.
Enter the reverse sear!
By reversing the traditional cooking order, starting low and slow over indirect heat, then finishing with a high-heat direct sear, you create edge-to-edge perfection with almost zero gray band, a tender interior, and a deep mahogany crust. The next great advantage, is that the lower smoking temperature at the beginning is a great opportunity to add smoke flavor to the steak with wood chunks, or chips.
This step-by-step guide breaks down how to master the reverse sear technique on a standard charcoal grill every single time.
Why the Reverse Sear Works Better
Traditional grilling relies on searing a steak over blazing heat first, then moving it to lower heat to finish cooking through.
The reverse sear flips this process upside down for three key reasons:
- Edge-to-Edge Color: Gently warming the steak at 225°F to 250°F allows the internal heat to rise evenly from the middle to the outer edges.
- Better Crust Formation: Moisture is the enemy of a good sear. The low-heat phase dries out the surface of the steak, allowing the meat to brown faster when it hits the hot coals.
- Built-in Tenderness & Smoke: Cooking at a lower temp gives natural enzymes extra time to tenderize the meat while picking up clean charcoal flavor before the final sear.
Selecting the Right Cut of Steak
The reverse sear is designed specifically for thick-cut steaks.
- Ideal Thickness: 1.5 to 2 inches thick.
- Best Cuts: Ribeye, New York Strip, Porterhouse, T-Bone, or Tri-Tip, picanha.
- When NOT to Reverse Sear: Any steak under 1 inch thick (like flank, skirt, or thin sirloin). Thin cuts will overcook in the center before you ever get a chance to build a crust.
Step 1: Prep & Dry Brine (Optional, but Recommended)
For the best flavor and crust, season your steak with kosher salt 12 to 24 hours ahead of time and place it uncovered on a wire rack in the refrigerator. This process, called dry brining, allows salt to penetrate deep into the meat while drying out the surface skin for maximum crispiness later on.
If you don’t have time to dry brine overnight, season the steak generously with kosher salt and coarse black pepper 45 minutes before hitting the grill.
Step 2: Setup Your Charcoal Grill for Two-Zone Heat
To execute a reverse sear, you need two distinct zones inside your kettle or charcoal grill: an indirect low-heat zone and a direct high-heat zone.
- Light half a chimney of charcoal briquettes or lump charcoal.
- Dump the lit coals onto one side of the bottom charcoal grate, leaving the opposite side completely empty.
- Place a water pan on the empty side if desired to help regulate temperature, this is completely optional on a short cook like this.
- Put the top cooking grate in place, close the lid, and adjust your intake vents until the ambient temperature inside the grill stabilizes between 225°F and 250°F.
Step 3: The Low-and-Slow Indirect Phase
- Insert a digital probe thermometer into the thickest part of the steak. If you don’t have one, make sure to keep an eye on those internal temps with an instant read thermometer.
- Place the steak on the indirect side of the grill (away from the hot coals).
- Place the lid on the grill with the top exhaust vent positioned directly over the steak to pull warm air across the meat.
- Cook gently until the internal temperature reaches your target pull temp (see the reference chart below).
Crucial Rule: Pull the steak off the grill 10°F to 15°F below your final desired target temperature. The internal temp will rise rapidly during the final high-heat sear.
Steak Doneness & Temperature Chart
| Desired Doneness | Pull Temp (Indirect Phase) | Final Target Temp (After Sear) | Interior Appearance |
| Rare | 105°F – 110°F | 120°F – 125°F | Cool red center |
| Medium-Rare | 115°F – 120°F | 130°F – 135°F | Warm pink center |
| Medium | 125°F – 130°F | 140°F – 145°F | Warm pink throughout |
| Medium-Well | 135°F – 140°F | 150°F – 155°F | Slight hint of pink |
Step 4: The High-Heat Sear
Once your steak hits its target pull temperature, remove it from the grill and set it on a clean plate or cutting board.
- Fully open the top and bottom vents on your grill to feed maximum oxygen to the coals. If needed, add a few fresh briquettes or lump charcoal chunks to build a raging fire. Some people even have mini leaf blowers or fans that the use to rapidly add oxygen to the fire to get it ripping hot.
- Wait 3 to 5 minutes until the coals are glowing hot and radiating intense direct heat.
- Place the steak directly over the hot coals.
- Sear for 60 to 90 seconds per side, flipping frequently to build a deep, mahogany crust without burning the meat.
- Don’t forget to hold the steak vertically with tongs for 30 seconds to render the thick fat cap running along the side of ribeyes and New York strips. Make sure to keep an eye on those internal temps. If the steaks aren’t to your desired doneness, you can always put them back on the indirect side for a bit longer to get them closer.
Step 5: Rest & Serve
One major benefit of the reverse sear method is that the low-and-slow first phase does not create intense muscle tension in the meat. That means you only need to let the steak rest for 3 to 5 minutes after searing before slicing.
Slice against the grain, finish with a sprinkle of finishing salt (I recommend my Pecan Smoke Salt), or a spread of compound butter, and enjoy the most tender, evenly cooked steak you can make on a backyard grill.
Common Mistakes to Avoid
- Relying on Time Instead of Temperature: Every steak thick-cut varies in shape and density. Always use an accurate instant-read digital thermometer rather than cooking by a timer.
- Leaving the Lid Off During Phase 1: Keep the lid closed during the low-heat phase to maintain stable ambient temperatures around 225°F.
- Searing Too Early: If you pull the steak at 130°F expecting medium-rare, the searing process will push the final internal temp well into medium or medium-well territory. Pull early!
If you are looking for help with low and slow cooking on the kettle grill, make sure to check out my post about offset smoking on a kettle grill.